Why the Introduction Process Matters So Much
Animals are highly territorial by nature, and an abrupt or poorly managed introduction disrupts the social and environmental stability that existing pets rely on. Stress from a botched introduction doesn't simply fade - it can result in chronic anxiety, litter box avoidance, appetite changes, or ongoing aggression that persists for months. Veterinary behaviorists consistently emphasize that the speed of an introduction is the single most controllable factor in determining its outcome.
This process applies broadly across species combinations - cat-to-cat, dog-to-cat, dog-to-dog - though the specific timeline and body language cues differ by species. If you're adding a second animal to your home, it also helps to understand how your financial responsibilities shift; see our overview of where multi-pet costs scale for a clear-eyed financial picture.
Before you begin, make sure both animals meet the prerequisites below. Skipping the health-screening step in particular is a common mistake that can expose your resident pet to illness.
What you will need
What You'll Need
A successful introduction doesn't require special equipment, but a few key items make the process significantly safer and more manageable. Gather these before the new pet arrives so you're not improvising under pressure.
Baby gate or exercise pen
Creates a physical barrier that allows both animals to see and smell each other safely during controlled meetings.
Separate feeding stations
Prevents resource competition, which is a primary trigger for inter-pet conflict.
Scent-transfer cloth or worn item
Used to introduce each animal's scent to the other before any face-to-face interaction.
High-value treats
Used to create positive associations during visual and in-person meetings.
Pheromone diffuser (species-appropriate)
Synthetic calming pheromones - available for cats and dogs - may help reduce ambient stress during the transition.
Never Force a Face-to-Face Meeting
Pushing two unfamiliar animals together without preparation almost always triggers fear, aggression, or lasting trauma. Even one bad encounter can set the introduction back by weeks. Always follow a phased approach and let each animal set the pace. If either pet shows sustained aggression, consult a veterinary behaviorist before continuing.
Step-by-Step Introduction Process
Follow these steps in order. Resist the urge to skip ahead - each phase builds the behavioral foundation for the next. The timeline between steps varies by individual animal, so let each animal's calm, relaxed behavior - not a fixed number of days - signal when it's time to progress.
Prepare a Dedicated Space for the New Pet
Before the new animal arrives, set up a separate room with everything it needs: food, water, bedding, a litter box if applicable, and places to hide or rest. This space serves as a safe base where the new pet can decompress and where your resident pet cannot intrude. Keep this room off-limits to your resident animal for the first several days.
Begin Scent Swapping
Take a soft cloth or small blanket and gently rub it on the new pet, then place it near your resident animal's resting area - not directly on top of food or bedding. Do the reverse as well: bring a cloth carrying your resident pet's scent into the new pet's room. Repeat daily, monitoring each animal's reaction. Calm curiosity is ideal; hissing, growling, or avoidance means more time is needed before progressing.
Allow Scent Exchange Through a Closed Door
Once both animals show relaxed or neutral reactions to each other's scent cloths, allow them to sniff under the door that separates their spaces. Feed each animal near the door - far enough away that neither is too stressed to eat, then gradually move meals closer to the door over several sessions. Eating near the door pairs the other animal's scent with a positive experience.
Introduce Visual Contact With a Barrier
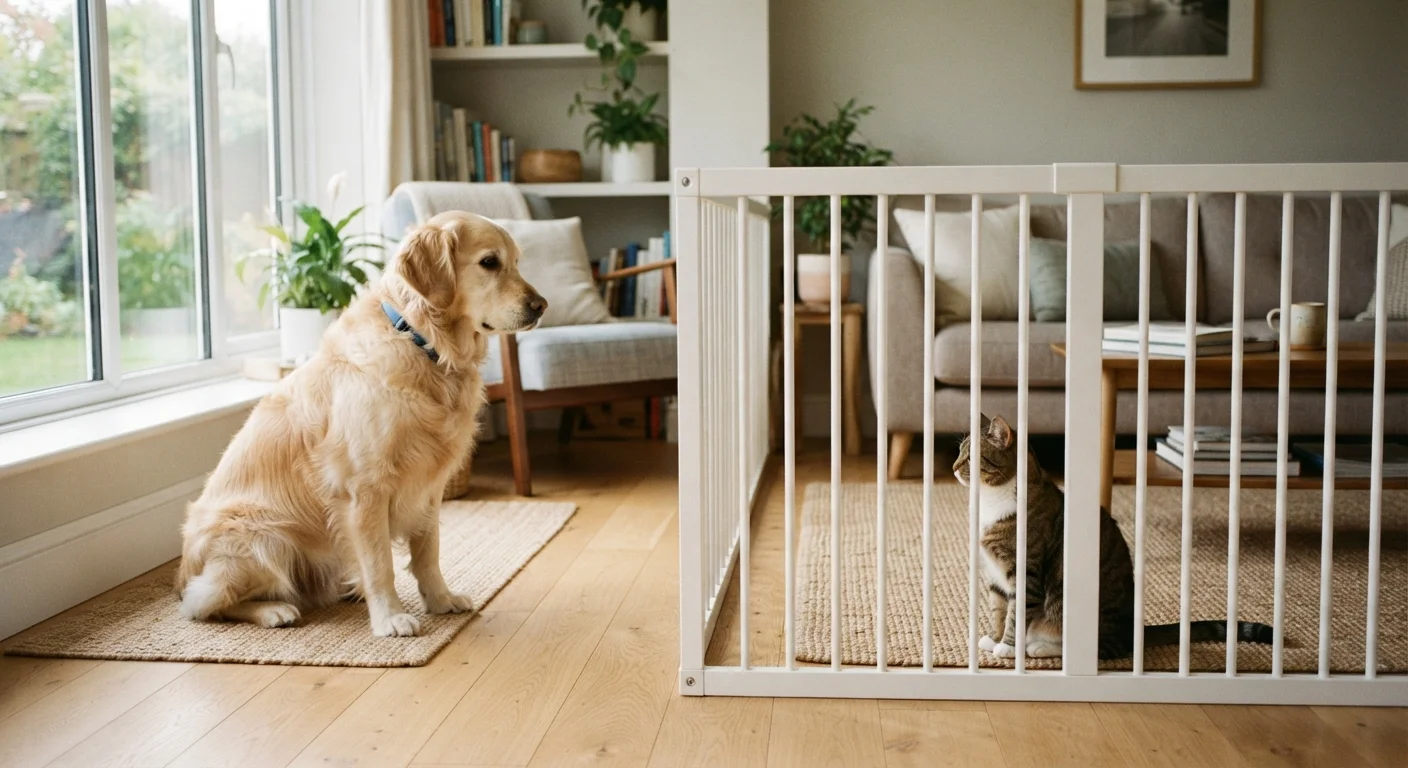
Use a baby gate, cracked door, or a door with a visual gap to let both animals see each other for the first time. Keep initial sessions to just a few minutes. Have a second person present if possible so each animal can receive attention and treats simultaneously. Watch body language closely: relaxed postures, brief glances, and disinterest are positive signs. Stiff posture, fixed staring, or raised hackles mean the session should end immediately.
Facilitate Controlled In-Person Meetings
Only when both animals consistently appear calm during barrier meetings should you allow shared space. Keep the first in-person session brief - five minutes or less - in a neutral area of the home where your resident pet does not have strong territorial feelings. Keep the new pet on a leash if it's a dog; give the resident pet clear escape routes and high perches if it's a cat. Never corner or restrain either animal.
Gradually Extend Shared Time and Supervised Freedom
Progressively increase the length and frequency of shared sessions over days and weeks, always supervising. Continue feeding each animal separately and ensure your resident pet retains full access to its established resources. Only allow unsupervised time together once both animals have demonstrated reliably calm, neutral, or friendly behavior through many sessions. Some pets reach this stage in two weeks; others take two months or more.
Use Treats to Build Positive Associations
During every controlled visual or in-person meeting, offer high-value treats to both animals simultaneously. This links the other animal's presence with something rewarding. Keep sessions short - under five minutes - while both animals remain relaxed, ending on a positive note before tension can build.
Watch for Signs of Serious Stress
Prolonged hiding, refusal to eat, excessive vocalization, or aggressive displays are not normal adjustment behaviors - they indicate the introduction is moving too fast. Pause all shared-space sessions and return to scent-only exposure. If stress signs persist beyond a few days, speak with your veterinarian.
Managing the Household During the Transition
Throughout the introduction period, maintain your resident pet's normal routine as closely as possible: same feeding times, same play sessions, same sleeping arrangements. Disruptions to routine amplify stress. Give your resident pet extra one-on-one attention to reinforce that the new arrival is not a threat to its relationship with you.
Resource guarding - competition over food, water, beds, or toys - is a leading driver of inter-pet conflict. Ensure each animal has its own set of resources in separate locations, and consider adding an extra litter box if you have cats (the standard recommendation is one box per cat, plus one). Reducing the reasons to compete dramatically reduces conflict.
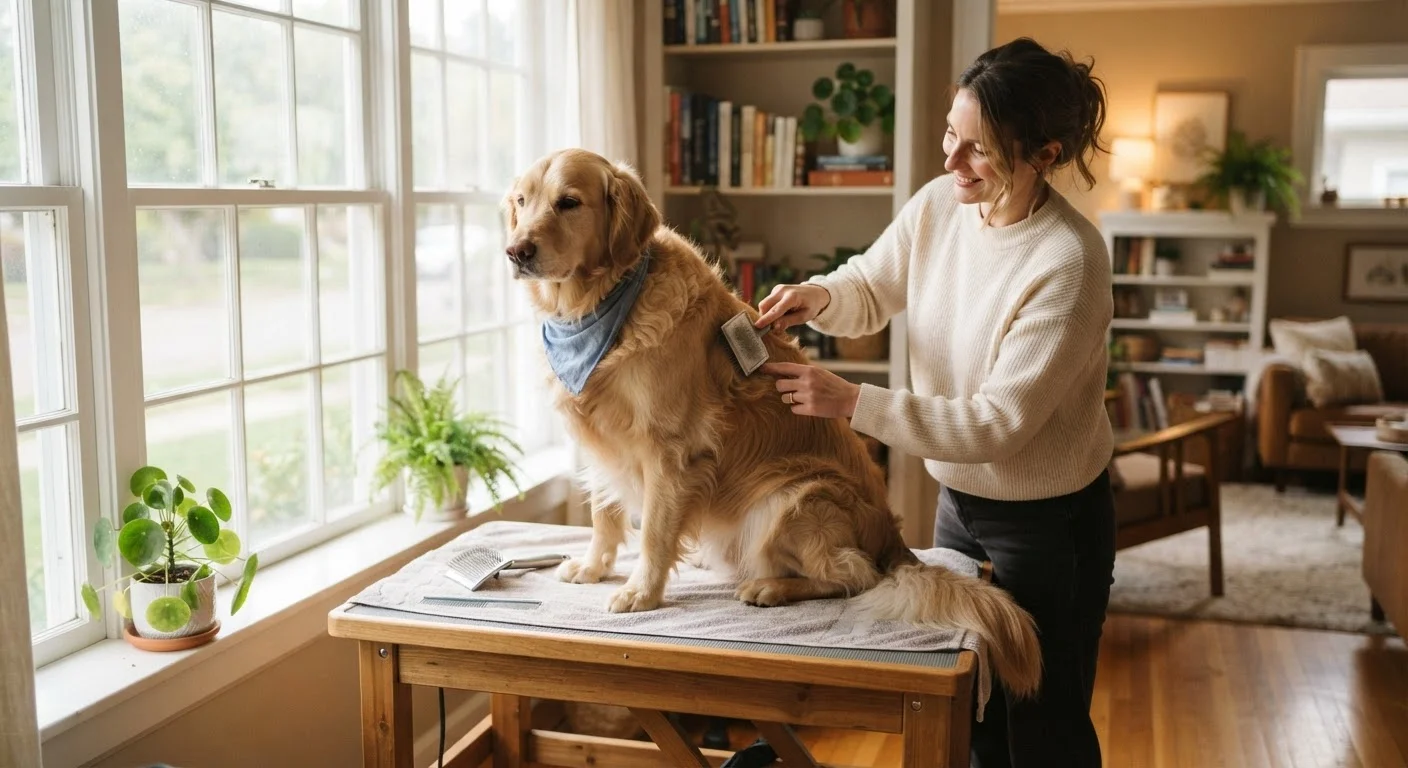
Reducing handling stress in other areas of your pet's life also supports a smoother transition. Our guide to grooming at home without stressing your pet covers practical techniques for keeping routine care calm - particularly useful when your pet is already navigating a significant change.
For a broader picture of what your new pet needs in its first year beyond just the introduction, the first-year health and wellness roadmap is a practical companion resource.
This article provides general educational information for pet owners and is not a substitute for personalized advice from a licensed veterinarian or veterinary behaviorist. If either animal shows signs of serious distress or aggression, consult a professional before continuing the introduction process.