
Why Most Tracking Systems Fail Within a Month
Most people abandon expense tracking not because they lack discipline, but because they build systems too complex to maintain alongside a real life. Elaborate category trees, daily manual entry requirements, and apps that demand constant maintenance turn a useful habit into a chore. The result: a spreadsheet opened twice in January, then forgotten.
Effective tracking has one job - give you enough information to make better decisions. It doesn't need to account for every dollar to the cent; it needs to show you where the patterns are. A system that captures 85% of your spending consistently is far more valuable than a perfect system you quit. Be aware that digital tracking apps carry their own trade-offs worth weighing - see the tradeoffs of tracking habits with an app for a broader perspective on that dynamic.
Tracking Is Information, Not Judgment
Seeing your actual spending numbers can feel uncomfortable, especially the first time. Treat the data as neutral information, not a verdict on your character. The point of tracking is to make deliberate choices going forward - not to generate guilt about the past. Shame is not a budgeting strategy.
How to Set Up Your Tracking System
The steps below walk you through building a lightweight, sustainable tracking routine. You'll need about 30 minutes to set up and roughly 10 minutes per week to maintain. Before you begin, gather the tools that suit your preferred approach.
What you will need
Bank or credit card statements
Provide the raw transaction data you'll categorize and review.
Spreadsheet (e.g., Google Sheets or Excel)
Create a customizable, low-cost tracker you control entirely.
Notebook or paper ledger
Supports manual cash tracking and the envelope budgeting method.
Budgeting or expense-tracking app
Automates transaction imports and categorization to reduce manual entry.
Gather one month of transaction history
Pull statements from every account you spend from - checking, credit cards, and any digital wallets. You don't need more than 30 days to get started. The goal is a complete picture of where money actually went, not where you thought it went.
Create five to seven broad spending categories
Resist the urge to build 20 micro-categories up front. Start with wide buckets: Housing, Food, Transportation, Utilities & Subscriptions, Personal & Health, and Everything Else. Assign each transaction to one bucket. Broad categories make the habit stick; you can always split them later once tracking feels natural.
Pick one tracking method and commit to it
There are three practical approaches:
- Spreadsheet: Copy transactions into a simple table with columns for date, merchant, amount, and category. Free, flexible, and fully in your control.
- App-based tracking: Connect bank accounts to a budgeting app for automatic imports. Reduces manual work but requires comfort sharing financial data with a third party.
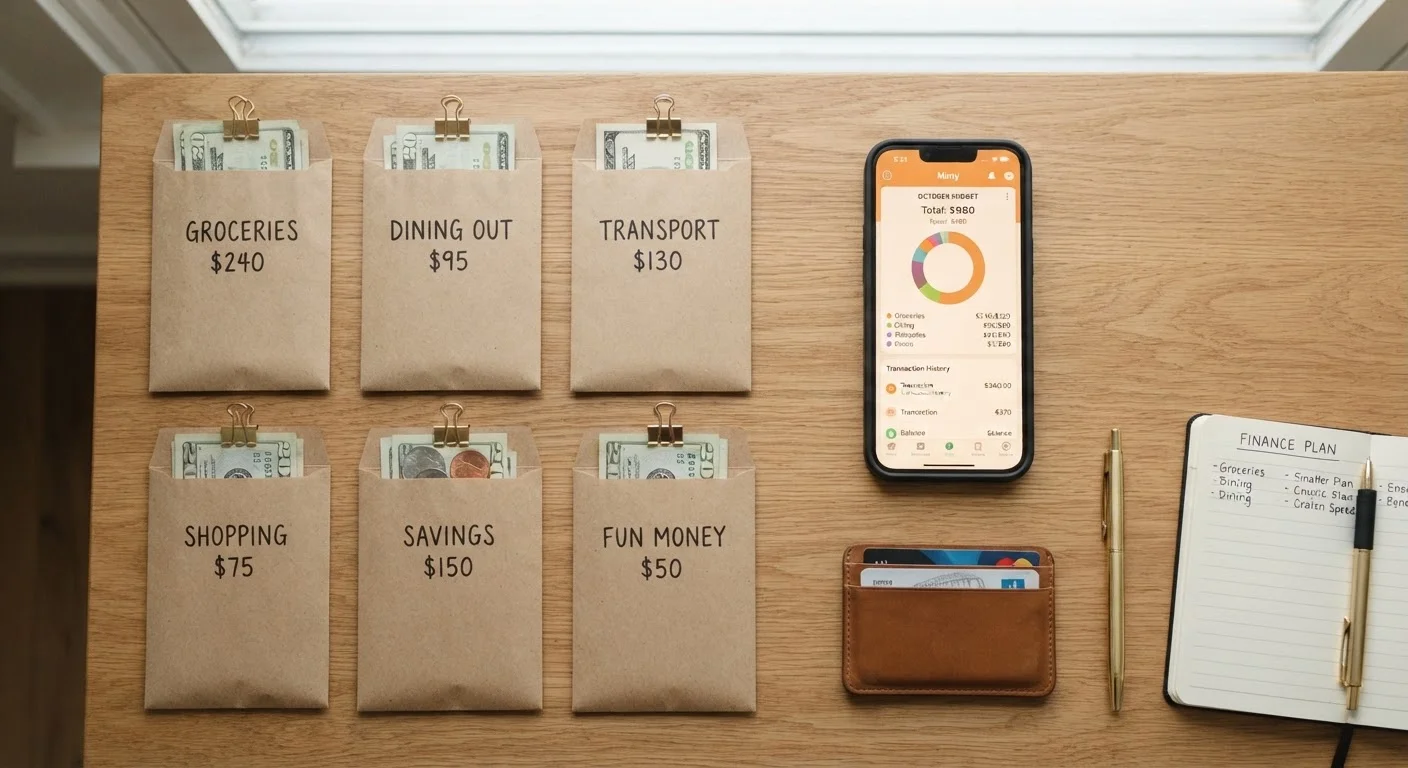
- Envelope system: Withdraw cash for variable spending categories each pay period and physically divide it into labeled envelopes. Spending stops when the envelope is empty.
For a deeper look at how these two philosophies compare, see cash envelopes vs. digital spending trackers.
Schedule a 10-minute weekly review
Pick a consistent day - Sunday evening or Monday morning work well for most people. In 10 minutes, log any transactions from the past week, check whether any category is trending over budget, and note one thing you'd do differently. Weekly reviews catch problems before they compound; monthly reviews often reveal damage that's already done.
Identify your top two spending leaks
After your first full month, sort categories by total spend. Look for the two areas where actual spending exceeded your expectation most. These are your highest-leverage targets. Common culprits include dining out, convenience purchases, and forgotten recurring subscriptions. Spending leaks that quietly undermine savings goals outlines the patterns most people overlook.
Set a realistic monthly spending target per category
Use your first month's actual numbers as a baseline, not an aspirational wishlist. If you spent $600 on food, setting a $200 target sets you up to quit. Instead, aim for a modest 10-15% reduction in your highest-leak category and hold everything else steady. Targets you can actually hit build momentum.
Keep Your System Boringly Simple
The most sophisticated tracker is worthless if you stop using it after three weeks. Favor the method with the fewest steps between a purchase and recording it. A two-column notebook you check daily outperforms a feature-rich app you open monthly. Simplicity is the feature.
What to Do Once the Data Is in Front of You
Raw transaction lists don't tell you much on their own. The value emerges when you look at totals by category over time. After your first tracked month, you'll likely notice at least one category - often dining, subscriptions, or convenience spending - that surprises you. Those surprises are the point.
Retailers and pricing structures are specifically designed to encourage unplanned spending. Understanding spending traps that catch even careful shoppers helps you interpret your own data with more context.
App Connections Carry Privacy Trade-offs
Budgeting apps that link directly to bank accounts are convenient, but they require you to share login credentials or authorize third-party data access. Review the app's privacy policy and data-sharing practices before connecting accounts. If you're uncomfortable, a manual spreadsheet provides the same analytical benefit with no data-sharing required.
Once you can see your baseline spending clearly, the natural next step is to automate the gap between what you spend and what you earn. Automating your savings explains how to put that process on autopilot so it doesn't require ongoing willpower. For a broader framework on managing everyday purchases within a budget, the Smart Shopping hub and Saving & Debt hub offer additional guidance.
This article is for general informational and educational purposes only and does not constitute personalized financial advice. Consult a qualified financial professional for guidance specific to your situation.